Introducing The Elbow Jig
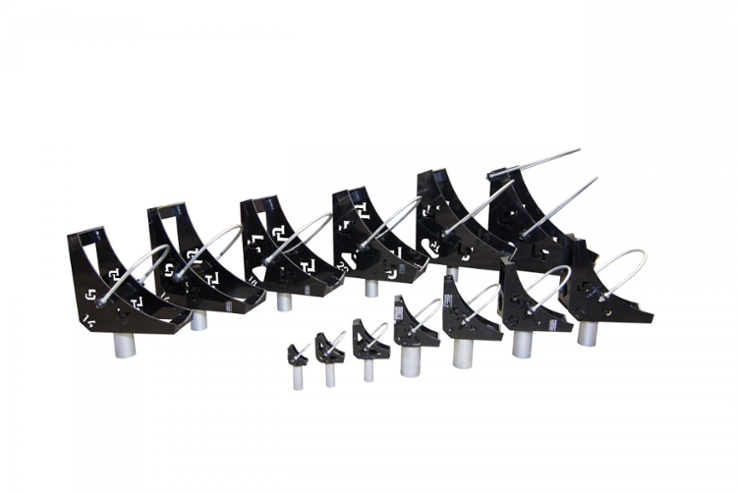
SITUATION
Pipe fabrication facilities have always needed to weld elbows for long pipe runs that change directions but it has always been a cumbersome, challenging and often dangerous process. Many facilities have identified this as an opportunity for improvement but until now, did not have a viable solution for the problem. It has resulted in a variety of make-shift, temporary solutions for a long-standing welding operation often done hundreds of times per year.
PROBLEM
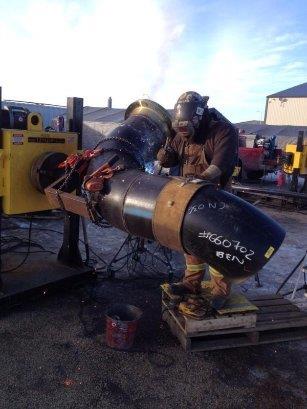 Welding elbow joints are time consuming and difficult because of the awkward shape they present, the weight they carry and the degree that they bend. Without a proper brace securely fastened to the elbow and pipe welding positioner, the job must be done manually.
- Safety Issues: By fabricating a make-shift elbow brace that hasn't been destructive tested or designed by APEGA certified engineers, this puts welders in danger and the company liable for injury or death.
- Time Consuming: Manually welding elbows is time intensive and lost welder productivity is preventable waste.
- Expensive: If this low variability / high volume process isn't automated it's an inefficiency that is making pipe yards less competitive because they are less profitable.
SOLUTION
LJ responded by creating the elbow jig. Here's how it works:
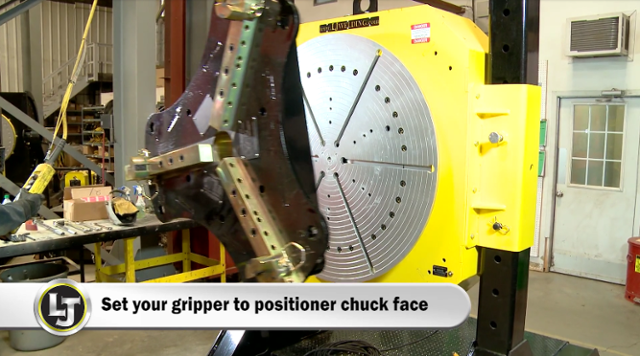
Step 1: Set Your Gripper To The Pipe Welding Positioner's Chuck Face
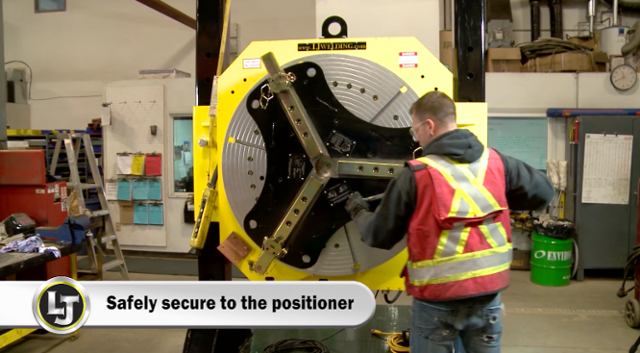
Step 2: Safely Secure To The Pipe Welding Positioner
Step 3: Crane Lift The Elbow Jig Into The Gripper
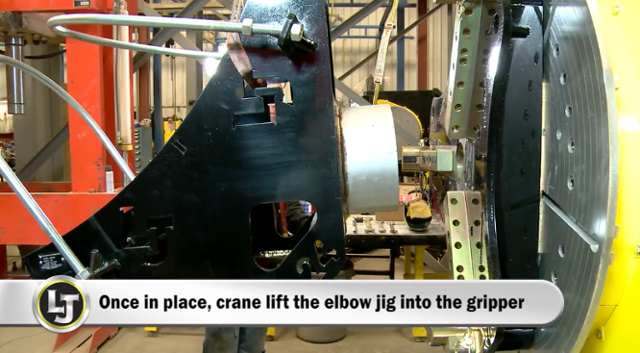
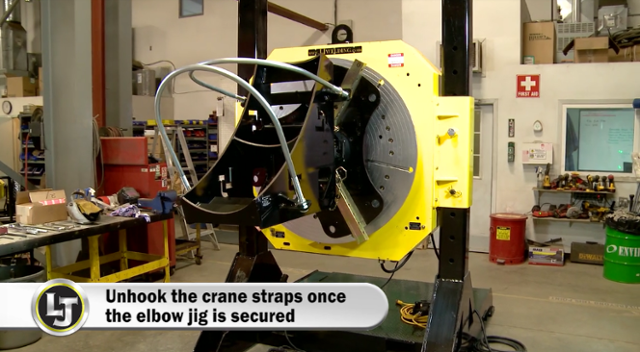
Step 4: Unhook The Crane Strap Once The Elbow Jig Is Secured
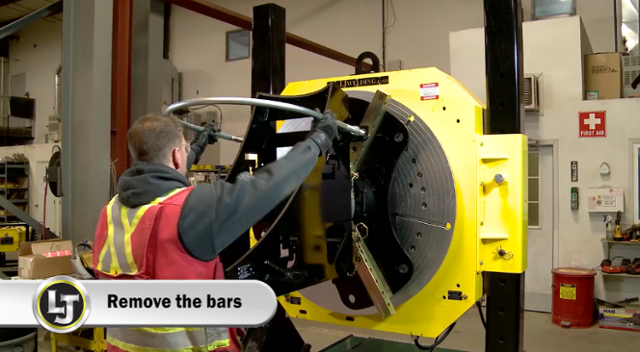
Step 5: Remove The Bars
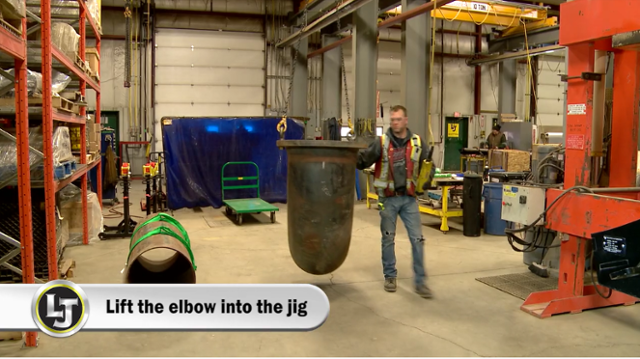
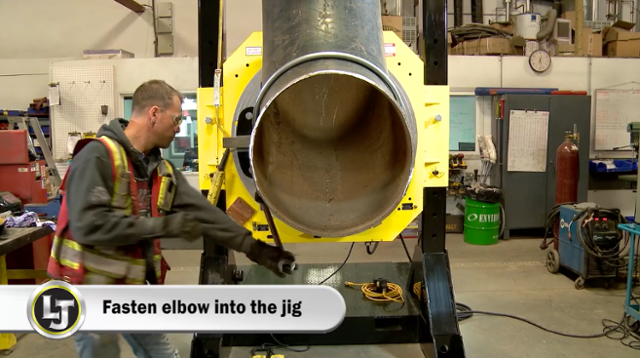
Step 6: Lift The Elbow Into The Jig
Step 7: Measure The Fit
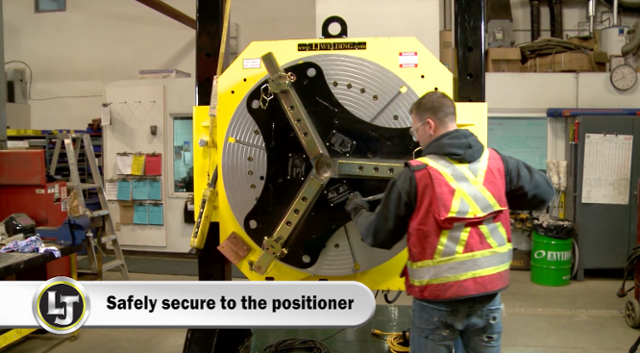
Step 8: Fasten Elbow Into The Jig
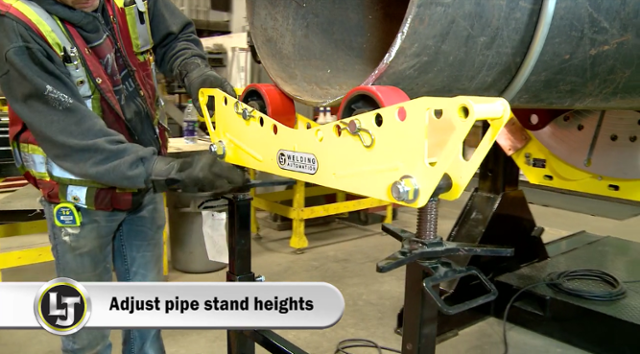
Step 9: Adjust Pipe Stands
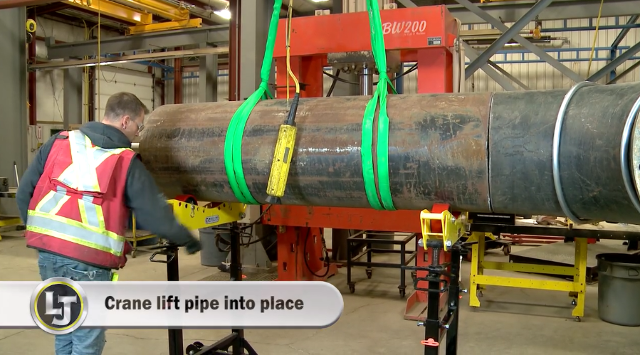
Step 10: Crane Lift Pipe Into Place
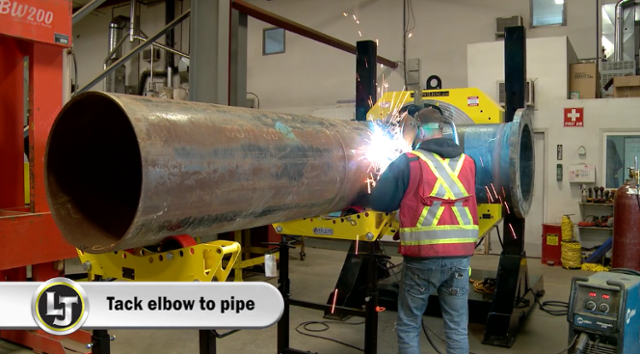
Step 11: Tack Elbow To Pipe
CONCLUSION:
The elbow jig has resulted in a 25-30% reduction in weld times in addition to increasing weld quality and worker safety. If you'd like to view various elbow jig sizes and specs, click the elbow jig link here.
To request a quote for elbow jigs, click below:
View the Elbow Jig Video Below:
Topics: Productivity


